
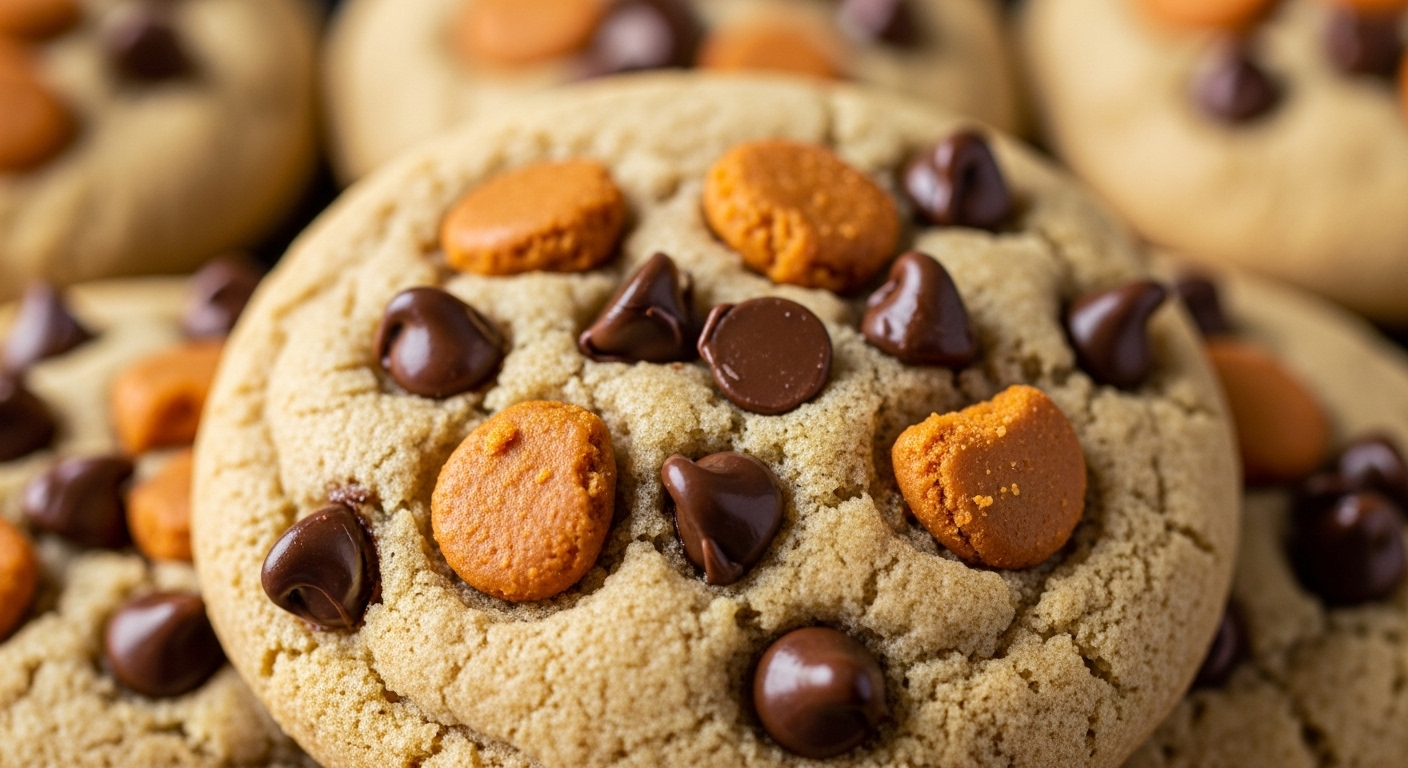
If you thought peanut butter cookies couldn’t get any better, these Peanut Butter Butterfinger Cookies are here to blow your mind. We’re talking thick, soft, ultra-peanut buttery cookies loaded with crispety, crunchety bits of chopped Butterfinger candy. Every bite is a delightful mash-up of rich, creamy peanut butter and that unmistakable toffee-like candy crunch. They’re easy to make, wildly addictive, and the perfect treat for candy lovers, bake sales, or just because you deserve something amazing.
Why You’ll Love This Recipe
- Easy to make – Simple pantry ingredients and straightforward steps.
- Loaded with texture – Crispy edges, soft centers, crunchy Butterfinger chunks.
- Ultimate peanut butter flavor – Double the PB with candy + cookie dough.
- Perfect for holidays or parties – Always a hit on cookie trays.
- Freezer-friendly – Bake now or freeze the dough for later!
Ingredients You’ll Need
- Butter (¾ cup, softened) – Use unsalted butter at room temperature for the best texture.
- Granulated sugar (½ cup) – Adds structure and slight crispness.
- Brown sugar (½ cup, packed) – Adds moisture and a subtle caramel flavor.
- Peanut butter (1 cup) – Use classic creamy PB like Jif, not natural.
- Large egg (1) – Helps bind and structure the dough.
- Vanilla extract (1½ teaspoons) – Enhances the flavor profile.
- All-purpose flour (1½ cups, spooned and leveled) – Provides structure without making them dense.
- Baking soda (½ teaspoon) – Gives lift and spread.
- Baking powder (½ teaspoon) – Adds a bit of puffiness to the final texture.
- Kosher salt (¼ teaspoon) – Balances the sweetness.
- Chopped Butterfingers (16 oz) – Use Butterfinger Bits or roughly chop full-size bars.
How to Make It
- Cream the butter: In a large mixing bowl or stand mixer, beat the softened butter until smooth and creamy. Scrape down the bowl as needed.
- Add sugars: Add both granulated and brown sugar. Beat for 2 minutes until light and fluffy. No butter chunks should remain.
- Mix in peanut butter, egg, and vanilla: Add peanut butter, egg, and vanilla extract. Beat until smooth and fully incorporated.
- Add dry ingredients: Add flour to the bowl. Sprinkle baking soda, baking powder, and salt over the flour. Lightly mix the dry ingredients together before beating into the wet mixture. Mix just until combined—don’t overmix!
- Add Butterfingers: Fold in chopped Butterfinger pieces until evenly distributed.
- Chill the dough: Cover and refrigerate dough for at least 15 minutes (up to 24 hours) for best results.
- Preheat and prep: Preheat oven to 350°F (177°C). Line two baking sheets with parchment paper or silicone baking mats.
- Scoop and shape: Use a cookie scoop to form 2-inch dough balls. Place on baking sheets 2 inches apart.
- Bake: Bake for 10 minutes until edges are golden and tops are puffy but no longer shiny. If cookies haven’t spread much, gently press them down with a spatula before or right after baking.
- Cool: Let cookies sit on the baking sheet for 5 minutes before transferring to a wire rack to cool completely.
Recipe Tips & Tricks
- Don’t use natural peanut butter – It separates and affects texture.
- Use chopped full-size Butterfinger bars if you can’t find pre-chopped bits. Aim for a mix of small shards and larger chunks.
- Chilling the dough prevents the cookies from spreading too much and improves flavor.
- Cookies taste best at room temperature – The Butterfinger pieces regain their crispy snap after cooling.
Recipe Variations & Substitutions
- Gluten-free version: Use a 1:1 gluten-free flour blend in place of all-purpose flour.
- Nut-free option: Substitute sunflower seed butter and use a different candy (e.g., crushed toffee or chocolate chunks).
- Mini cookies: Make smaller 1-inch dough balls and reduce bake time to 8 minutes for bite-sized treats.
- Chocolate overload: Toss in mini chocolate chips with the Butterfinger for a double candy boost.
Serving Suggestions
- Pair with a cold glass of milk or a cup of hot cocoa for the ultimate cozy treat.
- Serve on dessert platters for parties, bake sales, or holidays.
- Use as an ice cream sandwich base for an indulgent summer dessert.
Storage, Freezing, & Reheating Instructions
- Room temp: Store cooled cookies in an airtight container for up to 3 days.
- Freeze dough: Roll dough into balls and freeze in a ziplock bag for up to 3 months. Bake straight from frozen—just add 1–2 extra minutes.
- Freeze baked cookies: Cool completely, then freeze in an airtight container for up to 4 weeks. Thaw at room temperature, sealed.
Recipe FAQs
Can I use natural peanut butter in this recipe?
No, natural peanut butter is too oily and can cause the cookies to spread too much or become greasy. Use a standard creamy peanut butter like Jif or Skippy.
How many Butterfinger bars do I need?
You’ll need about 5–6 standard size Butterfinger bars (16 oz total), chopped finely. Or use two 8-ounce bags of Butterfinger Bits if available.
Can I skip chilling the dough?
Technically yes, but the cookies will spread more and may bake unevenly. A quick 15-minute chill is highly recommended.
Why do the cookies taste better cooled?
The Butterfinger bits melt in the oven, softening their texture. As the cookies cool, the candy re-hardens, giving you that signature crunchy snap.
Closing Thoughts + Call to Action
If you’re a peanut butter lover with a soft spot for candy, these Peanut Butter Butterfinger Cookies are your new dream come true. With a chewy center, crisp edges, and sweet candy crunch in every bite, this is the kind of cookie that disappears fast—so make a double batch!
Did you bake these cookies? Leave a comment and a star rating below to let us know how they turned out! Don’t forget to pin this recipe on Pinterest so you can make it again and again. Happy baking!